The second post of this series describes the RasperryPi that is connected to the sensors and used to record the data.
Hardware
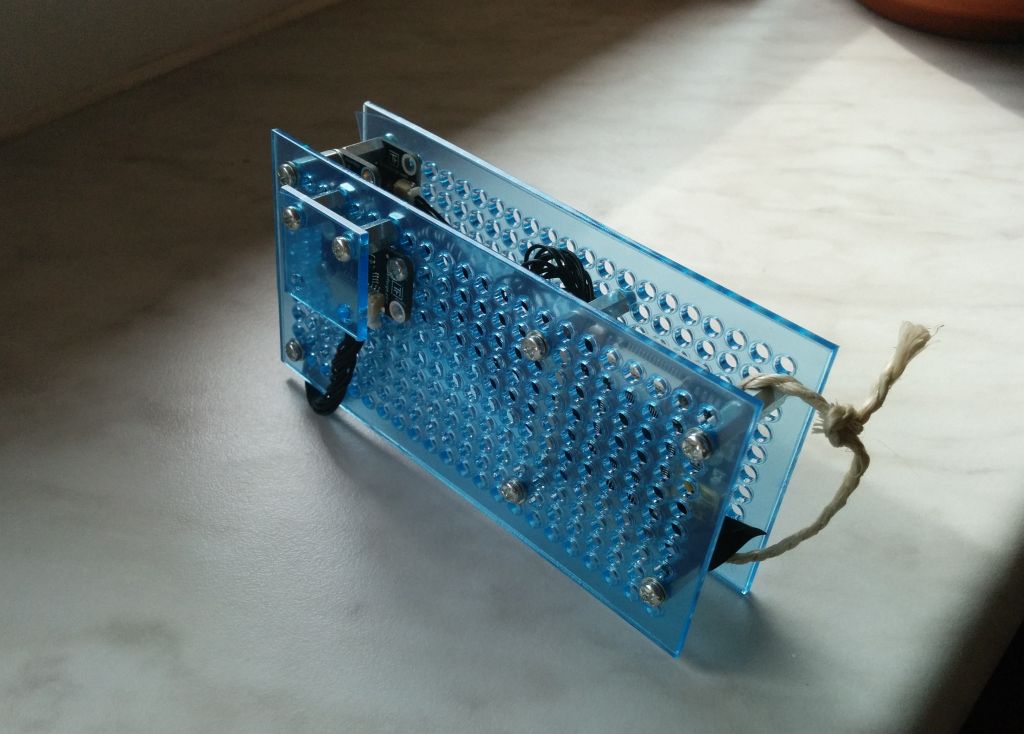
As described in the first part, I decided to use sensors from Tinkerforge as they are comparatively cheap, require no soldering, no electrical know how and they also provide a convenient API to get the data from the sensors. Ideal for people like me who want to spend more time with using the data instead of playing around with wires, resistors, etc.
The required hardware was just.
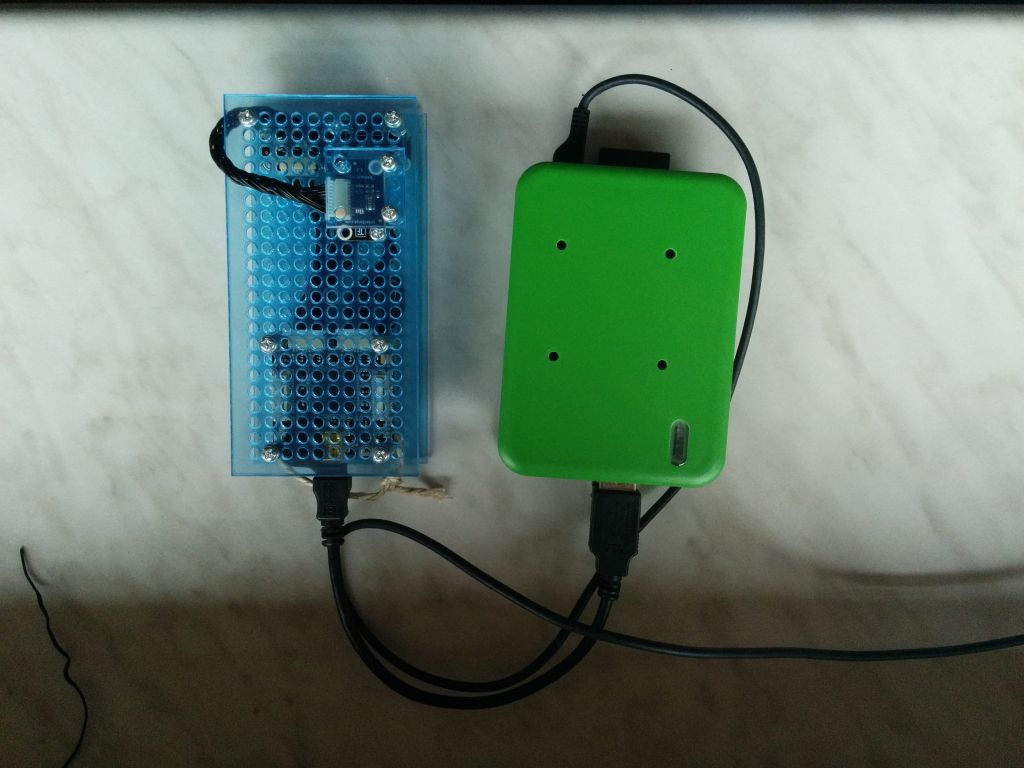
- Raspberry Pi (including a case, Wifi USB Stick, SDCard, power supply)
- Usb Cable to connect the RaspberryPi with the sensors
- Sensors
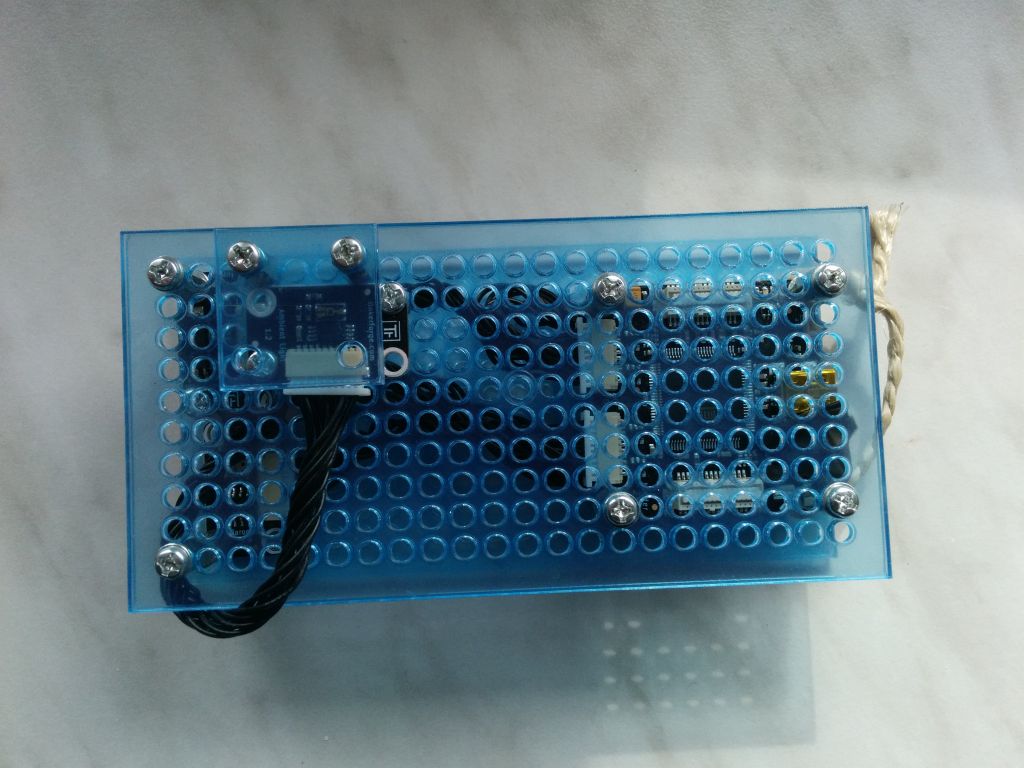
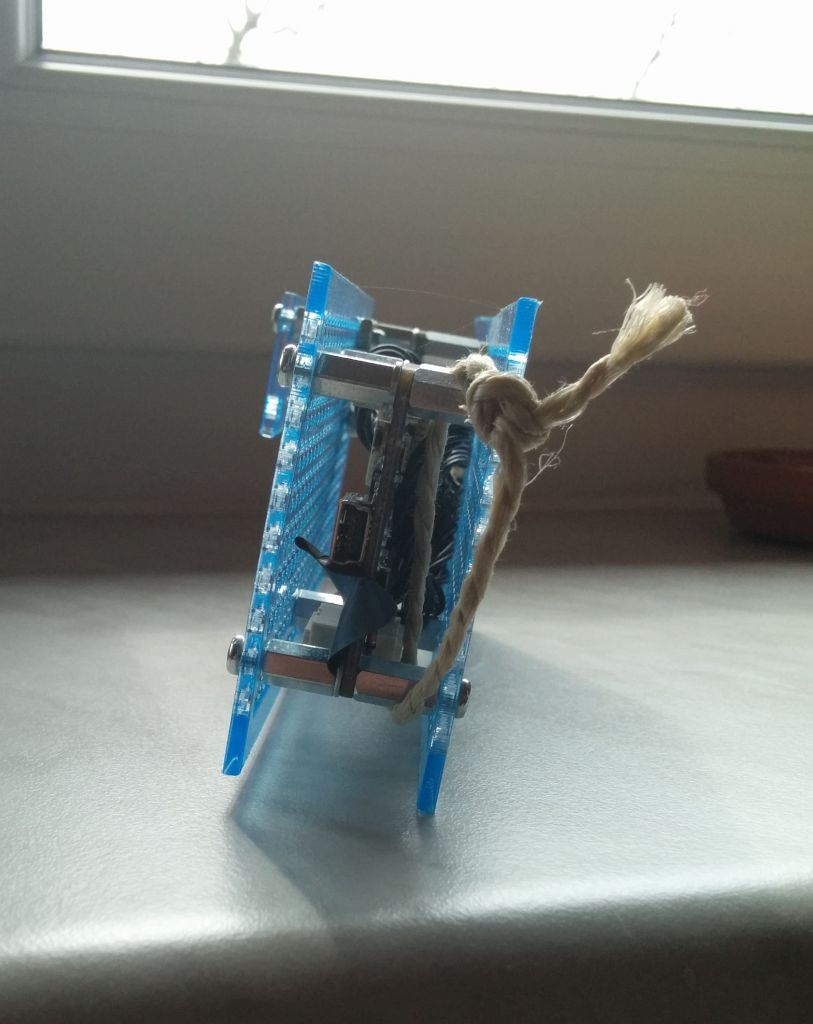
- 1x Master Brick
- 1x Ambient Light Sensor
- 1x Barometer Sensor
- 1x Humidity Sensor
- 1x Temperature Sensor
- 4x bricklet cables to connect the sensors to the Master Brick
- 2x Mounting plates
- Some sets of screws
- NO soldering iron
Overall between 90 and 100€ (excluding the Pi) but it saved me a lot of time.
The setup is extremly easy:
Connect the sensors to the Master Brick using the bricklet cables.
If you want to test the sensors first, just connect the Master Brick to your PC via USB install and start the Brick Daemon on your computer. Then start the Brick Viewer. After connecting, it should immediately show all the sensors as tabs and each tab should receive data. If not you should check if you distorted one of the fine pins in the connectors (you can use a pair of tweezers to bend them back into the right position).
Now connect the RaspberryPi to the Master Brick (via Usb) and if you haven’t done it already, install and start the Brick Daemon on the Pi. Just follow the instructions on the tinkerforge website. You should now also be able to connect to the Pi using the Brick Viewer and see the data streaming in.
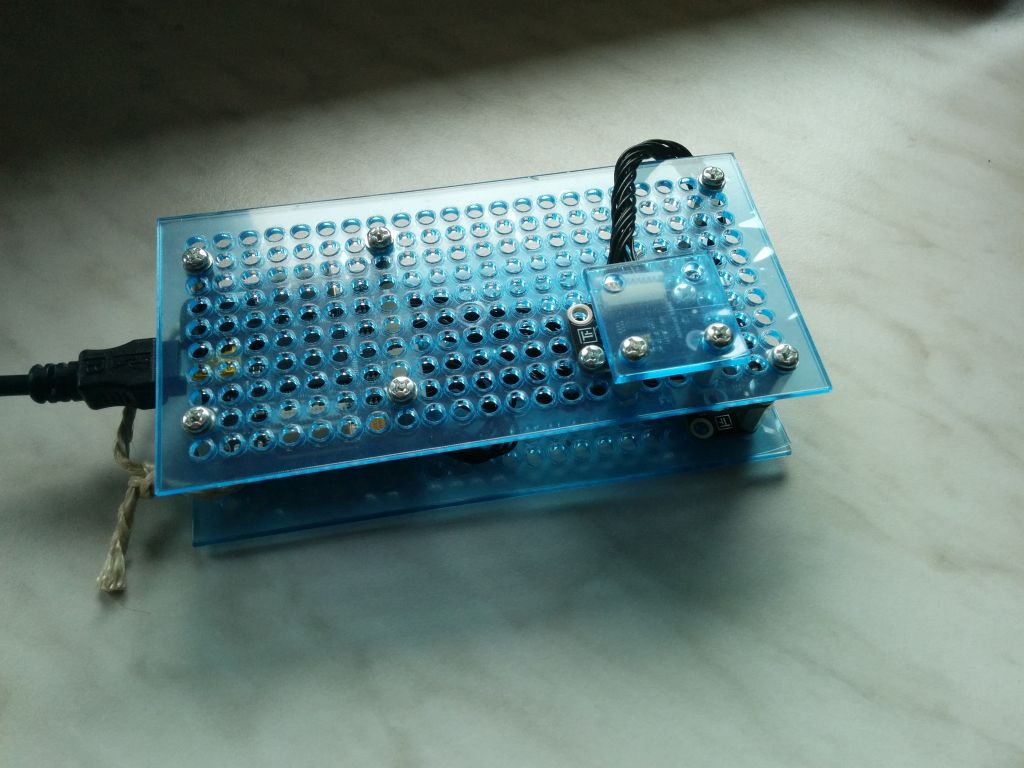
You might have noticed the small blue blinking LED on the master brick. Depending on the position of the light sensor, you should put some opaque tape on it. Otherwise you might be wondering later why your light sensor shows small periodical spikes – especially at night. As all the sensors work properly, you can now start mounting them on the plate. As the master brick emits some little amount of temperature, try to mount the master brick and the temperature sensor far away from each other. Also try to mount the ambient light sensor at a place where it is not covered – otherwise you might see rather boring results 😉 You might be tempted to mount the plate (or the sensors) directly on the case of the Rasperry Pi (which I did at first). It sounds like a good idea as the case usually provides a solid and mostly plain ground. But unfortunately the heat that is emited from the RaspberryPi leads to distored temperature values. In my case, I measured up to 3 or 4°C difference. As I don’t know if the emited temperature from the RaspPi is constant, I recommend to avoid mounting the sensors too close to the Raspberry instead of trying to recalibrate the temperature sensor. Another option would of course be to mount all but the temperature sensor at the PI case and only find an external place for the last sensor. That’s up to you.
Congratulations, the hardware setup of the sensor station is complete. Now it’s a good time to find a protected place where you want to measure your data (and have WiFi connectivity). Keep heavy winds and rain in mind and check that the ambient light sensor also gets some light.
Software
Time for the software part. This can easily be done remote via SSH, so no need to have the sensor station right next to you. I won’t go into detail about setting up the Pi itself, there are numerous guides around this topic. Let’s assume that we have a running Raspbian System with SSH and WiFi connectivity and the Brick Daemon already started as described above. If you want to take a glimpse into my config, you can fork / download the configration of my RasperryPis at GitHub.
The software on this RasPi should fulfill the following requirements:
- The sensor data should be polled in a certain interval from all the sensors (I chose a minutely interval, but you’ll be free to whatever you desire). This data should be archived so that we can also display historical data.
- The TV-connected RasPi should be able to update sensor data on demand to obtain fresh data whenever requested.
- The archive should be accessible rom the TV-RasPi.
- Keep maintenance as low as possible.
So let’s address one point after the other.

Polling the data: I chose to adapt the examples from the tinkerforge API and use very primitive python scripts that are launched from system Cron and write tuple of timestamp and sensor value into a plain text file. In the cron scripts, you just need to set the UID variable. This UID identifies the sensor you’re connecting to. In order to obtain the right UID, just start the Brick Viewer and have a look at the the start page. The table shows each sensor including its name and UID.
The cron entries are also plain simple:
* * * * * ~/wetterstation/temperature.py
* * * * * ~/wetterstation/humidity.py
* * * * * ~/wetterstation/ambientlight.py
* * * * * ~/wetterstation/barometer.py
I explicitly decided against a database to avoid all kinds of problems/maintenance that might be occuring to possible data base changes (hey, it’s my first weather station) or just about strange values that the Tinkerforge API could deliver. A textfile is primitive and robust enough as long as you only have one writer on it – even if it contains corrupted lines, you can simply ignore them when reading (or just open it in a text editor and delete or correct the line).
Obtaining fresh values from the remote RasPi is already accomplished by the Brick Daemon itself. So no additional work required!
Accessing the archive could be done via a webservice that exposes the file via http etc. This would just require a simple webserver and according configuration. As both RasPis are in the same network, I simply allow copying files via SSH / SCP. So I simply generate an SSH key without password on the TV-Raspi and granted it access to the Weatherstation. Copying the files will be triggered from the TV-Raspi and thus be covered in the next post.
So the only “active” components are the minimalistic python scripts that get called by cron automatically. No other services are involved. You might want to think about backing up the text files – that’s all that remains. Not really a lot of maintenance.
We’re done! Pretty easy isn’t it? Actually I think I spent most of the time deciding how to mount the sensors on the mounting plates :-). That’s it for now. I’d be glad to hear some feedback from you! I tried to avoid getting into technical details (like generating an SSH key) and keep the focus on the stuff that you might not have done already in (or with) other Linux boxes.
The next post will cover reading the sensor data, presenting the data in an appealing Java FX UI and how to control it via CEC (the remote signals via HDMI).